Navigation
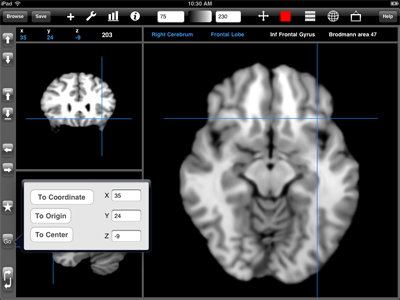
The current coordinate and value are displayed above the image viewer and represented by the intersection of the crosshairs. If an atlas is currently loaded, the anatomical label of the current coordinate will also be displayed.

The image can be navigated by tapping and dragging within the image or by tapping one of the six arrow buttons.
 Tap to display some navigation options. From here the current coordinate can be moved to the origin, the center slice, or to a specified coordinate. If the image is a time-series, the current timepoint can also be selected.

The bottom navigation button will cycle which of the three slice views is the main (larger) slice.

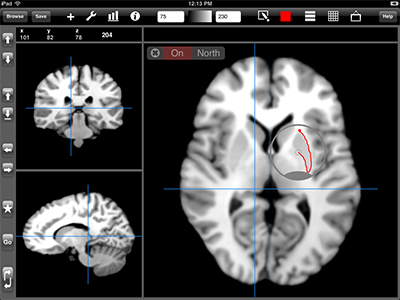
Loupe Tool. Tap and hold to open the loupe tool. The loupe is a small circular window that can be grabbed and dragged to avoid covering up the part of the image you are touching.
The loupe control panel will appear in the left-hand corner of the main view when the loupe is not being touched. After the loupe tool appears, release your finger and grab the loupe "thumb". The placement of the loupe thumb can be changed via the loupe control panel.
The On/Off button in the loupe control panel can be used to toggle drawing operations on and off. Some tools, such as , will start in the Off mode so that the loupe can be properly positioned before drawing begins.

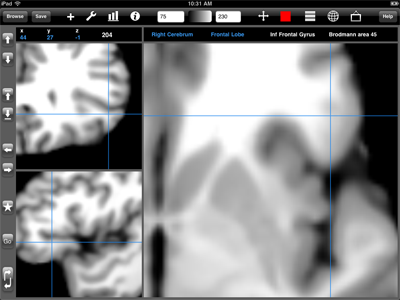
Zoom/Pan. To zoom an image, place the crosshairs at the zoom location. Then pinch forefinger and thumb together, place the fingers down, then expand forefinger and thumb until the desired zoom amount is reached. To go back to the original zoom, place the fingers down when far apart, then pinch.
To pan a zoomed image, place two fingers down and move them in the direction you wish to pan.
Quick Hide ROI. Make a two-finger tap to quickly hide/show the ROI.
