
Window Settings

Use these controls to adjust the brightness, contrast, and colors of images and overlays.
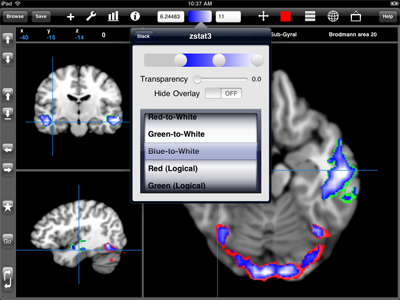
Adjusting. Edit and to bound the image values to the color table. Any image value below the min will appear as the left-most color (blue in this example) and any image value above the max will appear as the right-most color (white in this example).
You can dynamically adjust brightness and contrast within this range by dragging one of the three slider control thumbs. Dragging an end thumb can be used to adjust the lower and upper bounds. Double-tapping, holding, and dragging an end thumb will adjust both bounds by the same amount, leaving the center unchanged. Dragging the center thumb will move all thumbs by the same amount. Double-tapping the center-thumb will move the end thumbs back to their full extents.
Transparency can be used to mix overlays with the anatomy beneath the overlay data. There are several built-in color tables. Also included are three opaque logical color tables which combine using RGB color mixing when overlays overlap.
Custom Color Tables. Custom, user-defined color tables can be created in the desktop version of Mango and transferred to iMango. These files – which have an extension of .lut – will not appear in the Image Browser, but rather will show up in the color table list. See the Color Table Specification for more details. To remove a color table, delete it from iMango documents in iTunes.
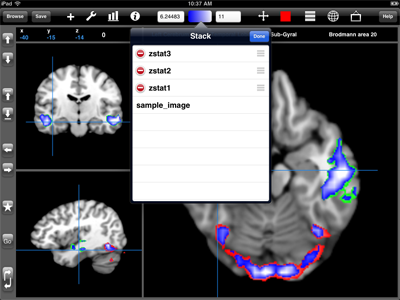
Image Stack. Certain tools will operate on the currently selected image in the image stack. To select a different image, tap the button to see a list of all loaded images and then select a new current image.
Tap the button to make changes to the stack. To change the position of an overlay, grab it and drag it to a new location within the stack. An overlay can be removed from the stack by tapping its delete button.
The position of the base image must always remain at the bottom of the stack.